Within the system you are
able to assign levels of priority to your Clients and your Members.
This is a powerful tool designed to put your internal rankings of Members and Clients into practice and assist your office staff to make informed decisions when allocating Members to shifts. Making the process effortless and allowing you to keep your important business relationships strong by sending your highest quality and most reliable staff to your best customers.
It is important to note that priorities
are not shown to Clients or Members, they are for internal use only. (A bit
like you wouldn’t tell your opponent your planned moves in a game of chess!)
To access you Priority Levels set in Masters
Please follow the below steps:
1. Access masters > Main Masters > Priorities
In the Priority screen, you will see entries for both Clients and Members.

To edit a Priority entry
Select the pencil found in the far left column within the same row of the priority you wish to update.

This will expand the entry to allow the fields to be updated.

Once updated select the green tick to save or the Red X to cancel.

To add a new Priority level
If you wish to create a new priority rather than edit a previous entry select Add New Priority

This will expand a new Entry form for you to enter your custom Priority and Level for either User Types Member or Client.

All fields marked with a * are mandatory when creating a Priority.
User Type *
- Members: This will set the priority to apply to Member priorities
- Clients - This will set the priority to apply to Clients
Priority Level *
The priority level is the sequence/level of the priority you are creating. The smaller the number the higher the priority.
For example:
1 = Highest Clients/Best Members
99 = Lowest Clients/ Subsidiary Members
Priority Description *
The description is shown when setting/viewing a priority level with the Client/Member profile. Using a clear description to identify between the different levels is highly recommended when creating/updating levels.
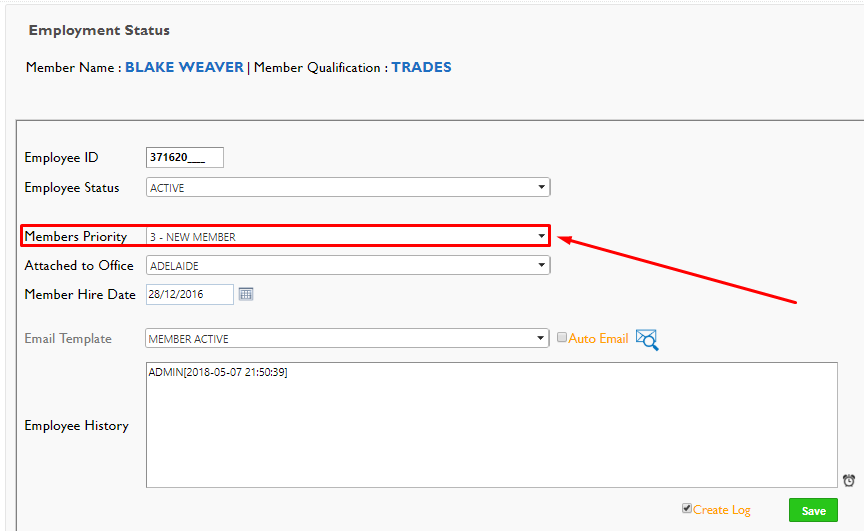
Member Profile Example

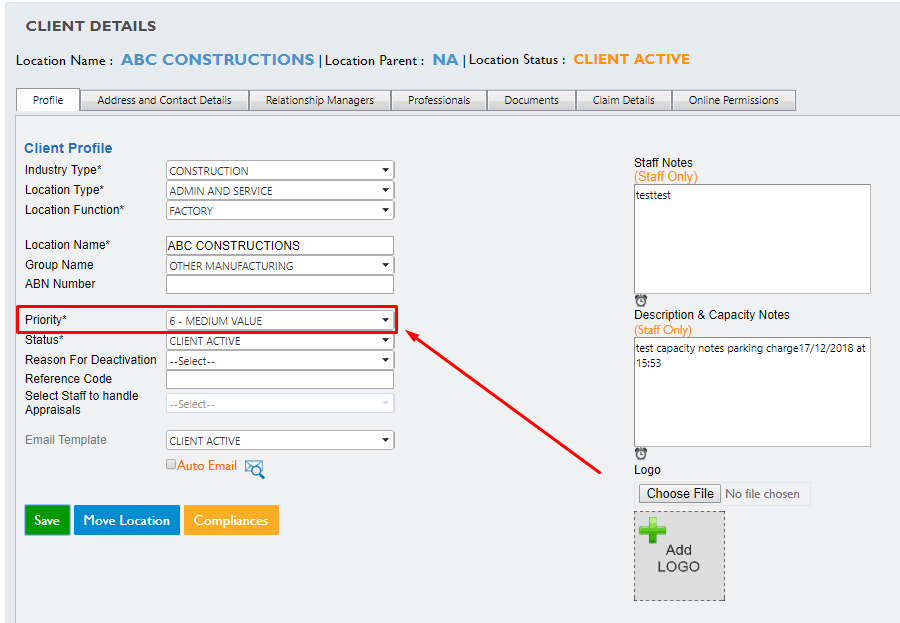
Client Profile Example

Max Limit for Release/Standby
When ticked this will set the priority level as the maximum for:
- Released shifts to be visible to a Member via the App and Portal
- Access to use the Standby feature when setting availability.
Any Member where their priority is greater than the set Maximum will not have the ability to view released shifts and use the Standby feature when entering casual availability.
For example, if the maximum limit is set at 10 all members Lesser or equal to (1-10) will be able to view released shifts/access standby. Members that have a priority level greater than ten (11 and above) will not be able to access these features.
Max Limit for Release Notification
When ticked this will set the priority level as the maximum for:
- Members to receive notifications of released shifts.
Please note this is only for the notification and does not restrict the Member from seeing the released shift. The setting for Maximum Limit for Release/Stand is what restricts Members from viewing released shifts if their priority is greater than the Max limit set.
Status
ACTIVE - If Active a priority will appear and show as an available option.
INACTIVE - If Inactive it will not be visible to set against a Member or Client Profile
Once you have updated the mandatory/optional fields select the green tick to save the Priority.


